Studio Guides
Visual step-by-step guides for core Studio workflows.
Learn how to use WeConnect Studio with these animated walkthroughs. Each guide demonstrates a key workflow so you can get productive quickly.
1. Create a Service File
Service files (.wcs) are the core containers for your presentations. They hold all your slides, songs, Bible verses, and embedded media in one portable file.
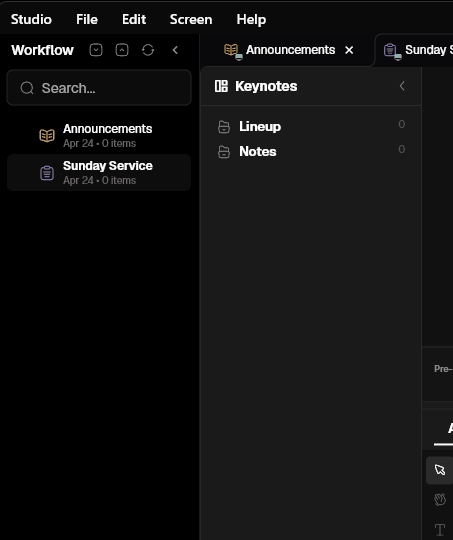
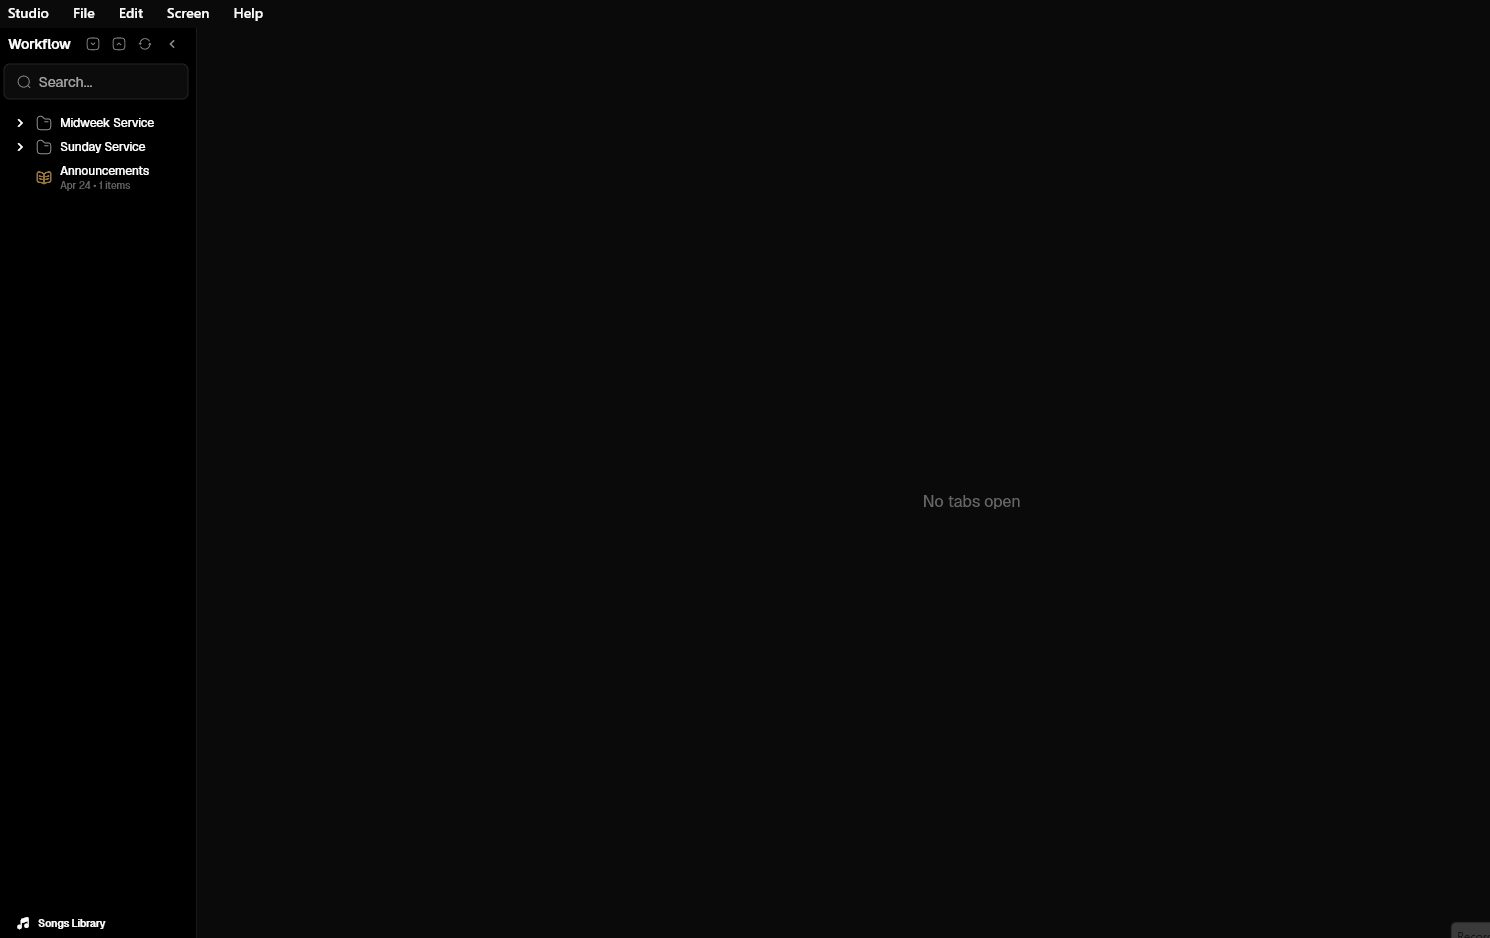
2. Organizing Service Files
Keep your services organized with folders and file management. Quickly rename, duplicate, or archive past service files.
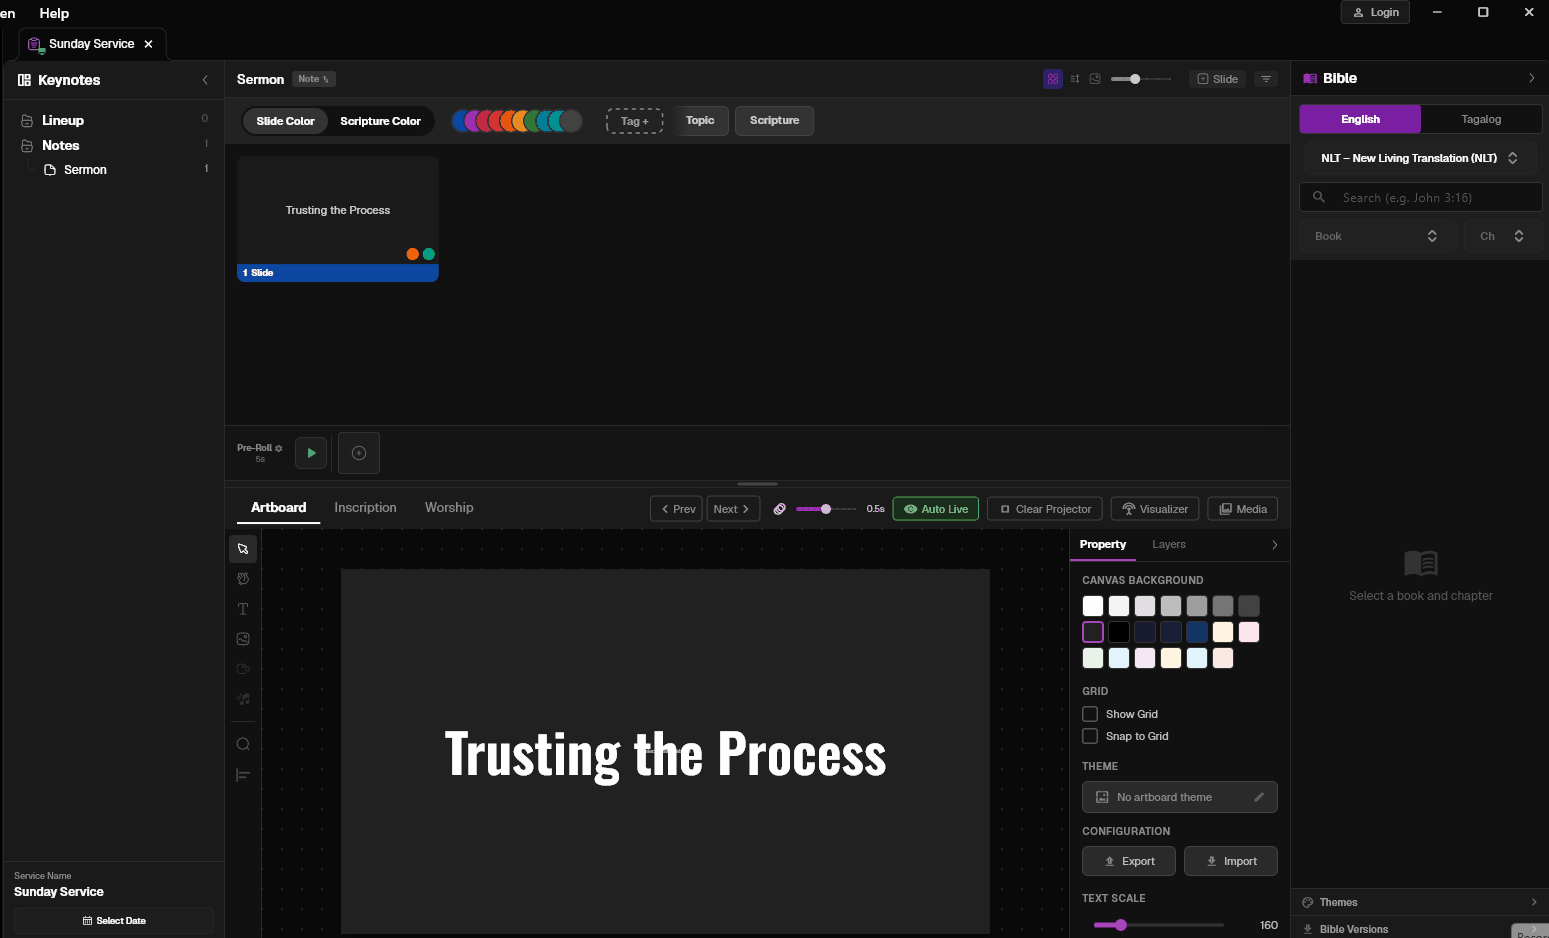
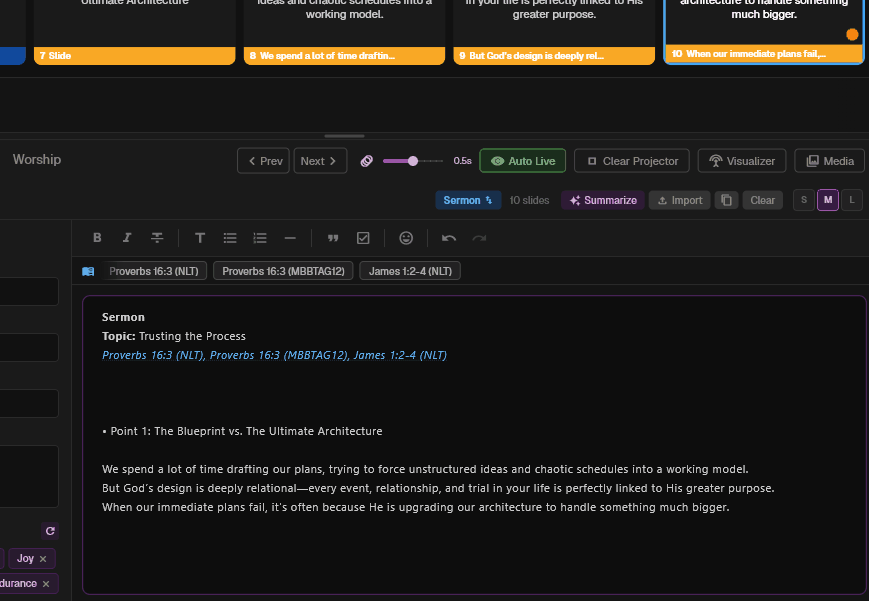
3. Creating Sermon Notes & Slides
Create sermon note slides with the quick-note feature. Add titles, bullet points, and scripture references to build your sermon outline as presentation slides.
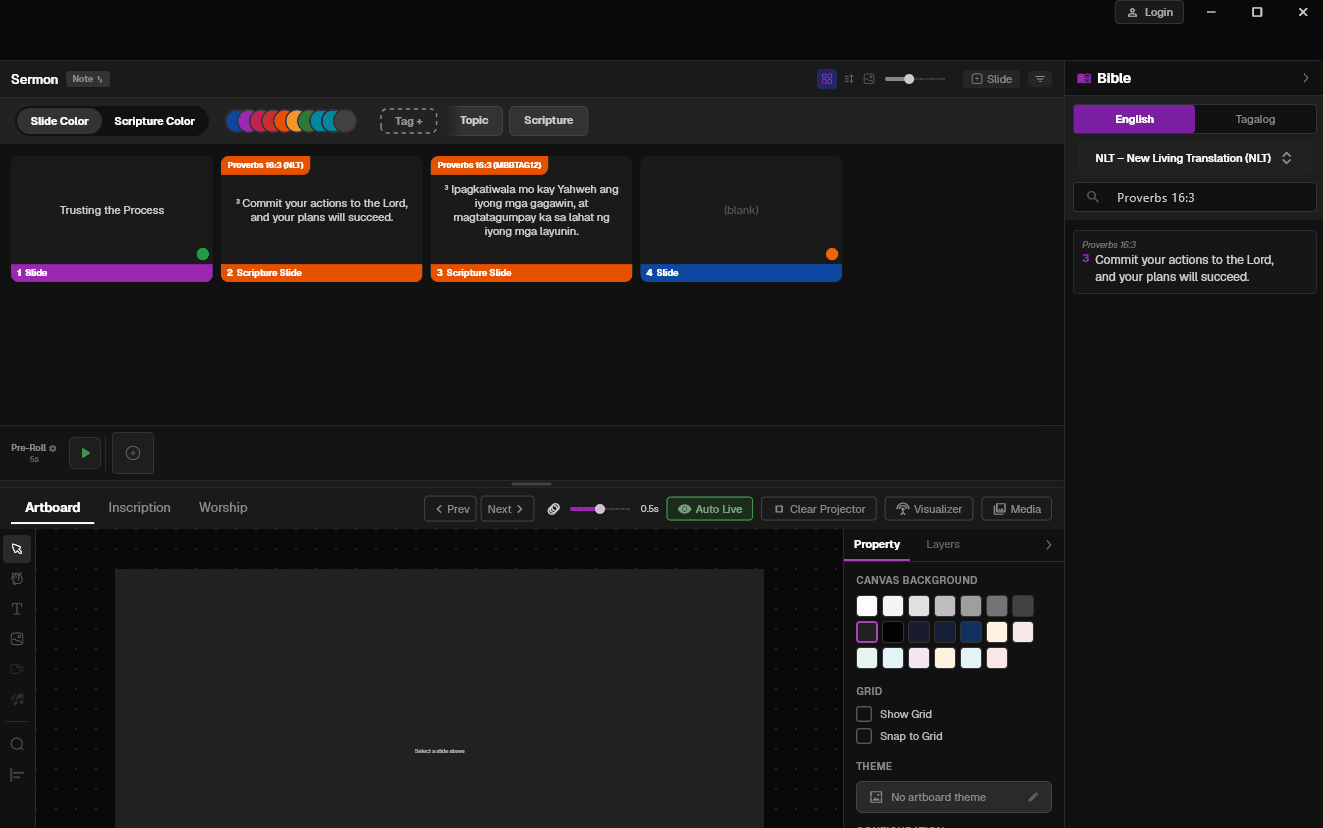
4. Importing Bible & Language Switching
Import Bible verses and instantly switch between English and Tagalog translations. The dual-language view lets your congregation follow along in their preferred language.
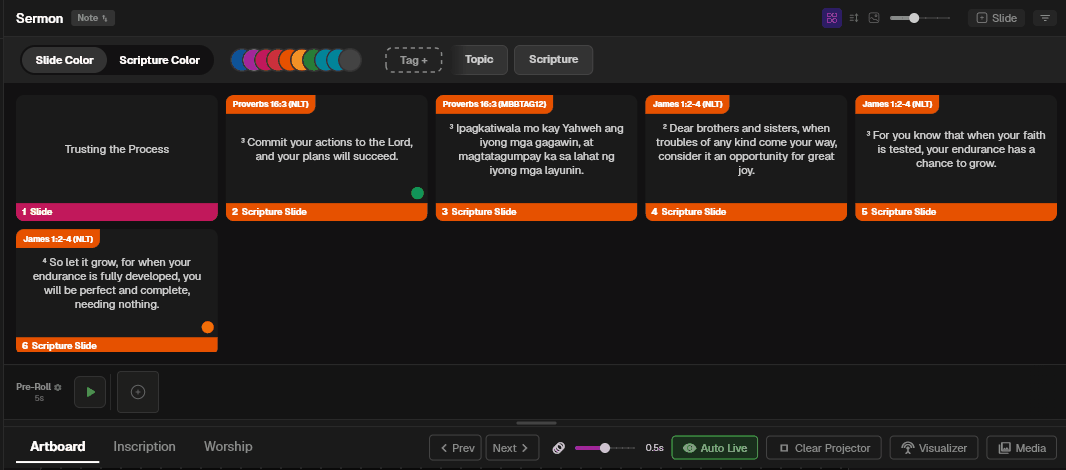
5. Importing Multiple Bible Verses
Select and import multiple Bible verses at once. Studio automatically generates individual slides for each verse with proper formatting.
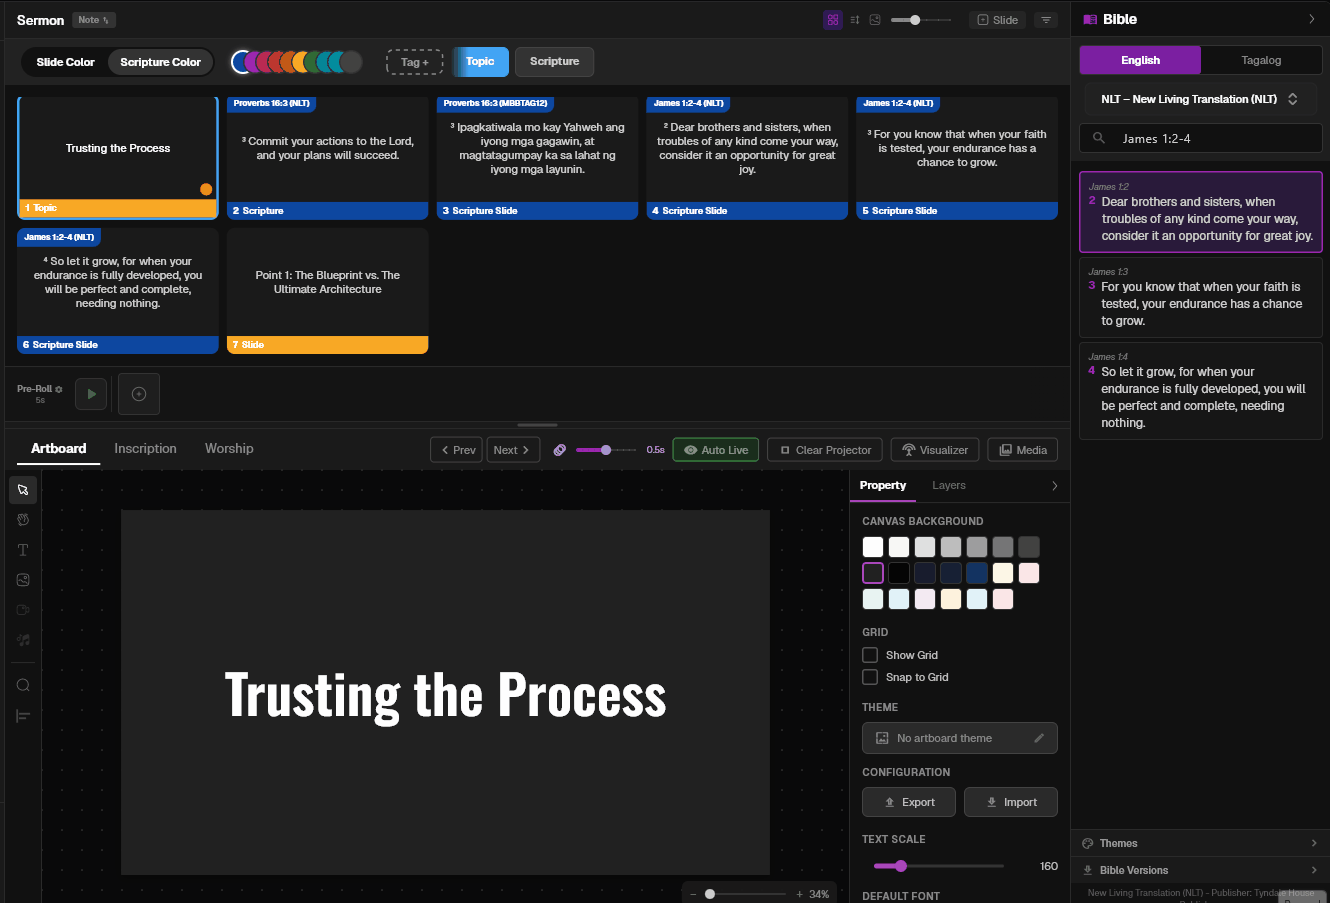
6. Tags, Slides & Colors
Use tags to categorize your content, create custom slides, and apply color themes to keep your presentations visually consistent.
7. Inscription
Use the Inscription feature to add persistent lower-third text overlays during your presentation — perfect for speaker names, event titles, or announcements.
8. Import Message Verse
Quickly import a specific Bible verse directly into your sermon slides. This streamlines your workflow by pulling scripture right into your message context.
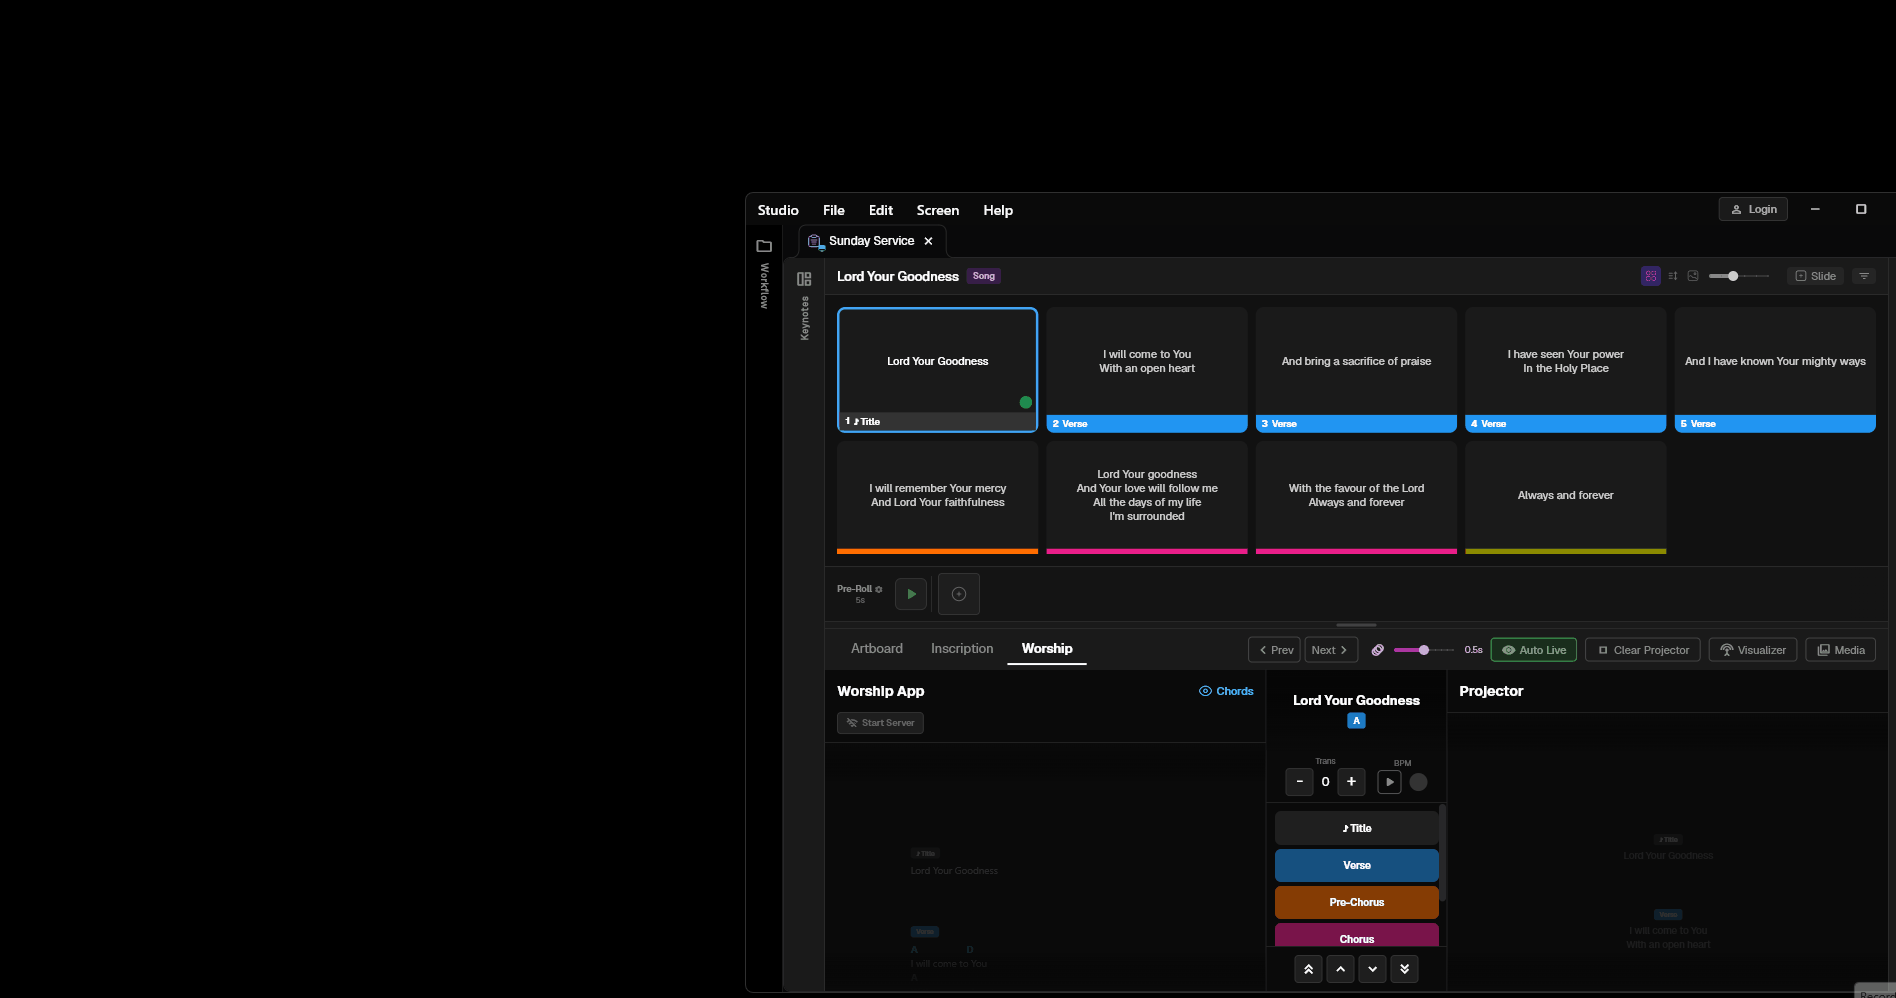
9. Import Local Song & Worship Tab
Import songs from your local library into the Worship tab. Studio auto-generates lyric slides that you can reflow and customize.
10. Open Projector
Launch the projector output window to your secondary display. This sends your slides full-screen to the projector while keeping the control interface on your main screen.